Managing Multi-Camera Setups for Live Events: A Step-by-Step Guide

Last Updated: November 10, 2026
Quick Summary
Managing multi-camera setups for live events means planning the venue, camera positions and equipment before the day, then running the show with a clear cueing sequence and a fallback plan for each possible failure. Plan the run of show first, check sightlines and power at each position, and rehearse the cues with the whole crew.
- Write a run of show that tells each operator which multi-camera setups to use for every segment.
- Mark two or three camera positions on a floor plan and check sightlines at head height.
- Use genlock where your gear supports it, especially for multi-camera productions.
- Measure stream latency during rehearsal and tell presenters about the delay before the event.
- Write a one-page failure matrix naming the first action and responsible person for each fault.
Table of Contents
- Planning Your Multi-Camera Setup Before the Event
- Building a Live Stream Equipment Checklist
- Setting Up Your Multi-Camera Livestream Signal Path
- Camera Synchronisation for Live Streaming: Timecode, Genlock and Latency
- Running the Show: Cueing, Switching and Crew Communication
- Multi-Camera Livestream Troubleshooting and Failure Recovery
- Booking Your Next Live Event Stream with Webcasting Livestream
- Frequently Asked Questions
Planning Your Multi-Camera Setup Before the Event
Multi-camera livestream productions depend on careful planning, and multi-camera setups in particular benefit from a clear plan before the event begins. Good planning helps turn a stressful live event into a routine, repeatable job. A clear plan also helps coordinate cameras, crews, and audience participation, making hybrid event production planning a natural extension of the same preparation.
Start by writing down the goal. Is the stream for a corporate AGM, a product launch, or a seminar for staff across several cities? Each one needs a different camera count, audio setup, and level of backup. A town hall with one speaker and a static audience needs far less than a launch with demos, guest speakers and Q&A.
Then build a simple run of show that tells each operator which of the multi-camera setups to use for every segment. List every segment, its start time, who is speaking, and what the viewer should see. This becomes the script your camera operators and director follow.
Assessing the Venue, Sightlines and Camera Positions
The venue decides where your cameras can go. Visit it, or ask for a floor plan and photos, and check three things:
- Sightlines: Can each camera see the stage, screen and presenter without obstruction?
- Power points: Where are the nearest outlets, and can they carry the load?
- Internet access: Is there a wired connection, and how strong is the Wi-Fi at the camera positions?
Mark two or three camera positions on the floor plan. A common setup is one wide shot from the back of the room, one close-up on the speaker, and one angle on the audience or screen. Avoid placing cameras directly in front of the audience, where they block seats and get bumped.
Walk each position with a phone at head height and check what it sees. Lighting often changes at different times of day, so note where windows or stage lights will cause glare.
Building a Live Stream Equipment Checklist
A written checklist saves more time than any single piece of gear. Use one for every event, and tick each item off during the pre-event walkthrough.
- Cameras with fresh batteries and spare cards or memory
- Tripods or mounts rated for the camera weight
- Video switcher or encoder with enough inputs for every camera
- Laptop or hardware encoder, charged, with a backup machine ready
- Microphones: lapel, handheld and a room mic, with spare batteries
- Audio mixer and headphones for monitoring each source
- SDI or HDMI cables, long enough to reach each position without tension
- Power boards, extension leads and a power distribution plan
- Ethernet cable and a wired internet connection, plus a 4G backup
- Monitors so the director can see every camera at once
Test every item before the event day, since equipment that works in the office can still be affected by transport.
Setting Up Your Multi-Camera Livestream Signal Path
The signal path is the route your video and audio take from the camera to the viewer. Map it on paper first, then build it.
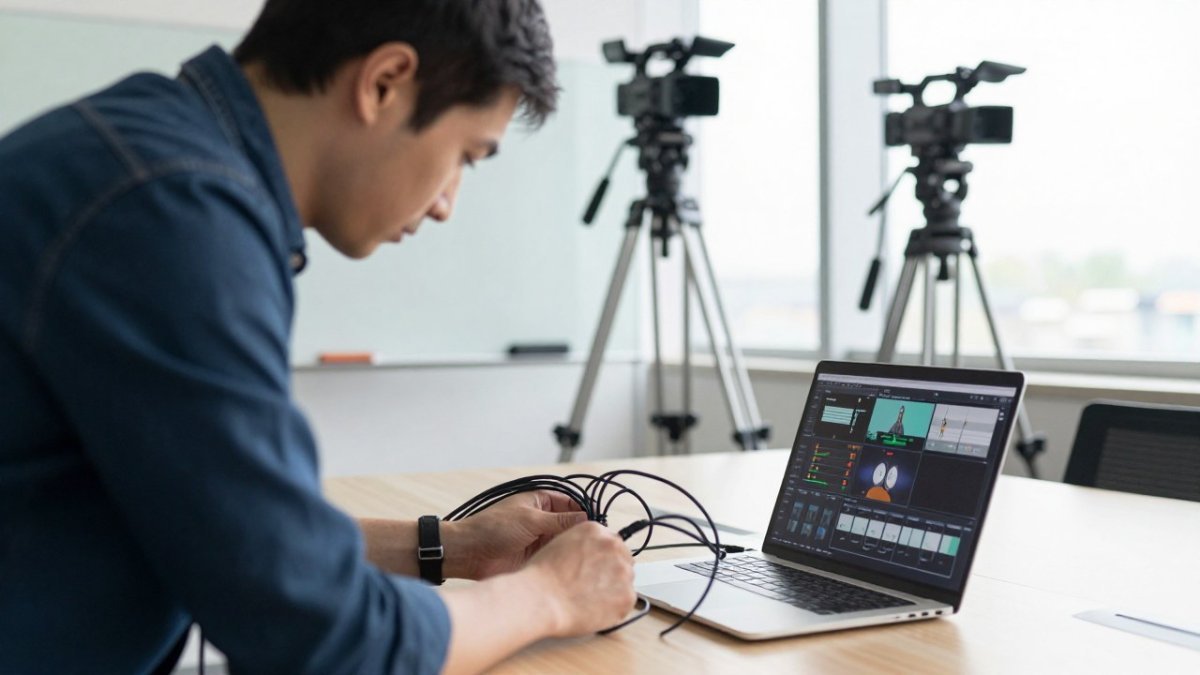
A typical path looks like this:
- Camera outputs video through SDI or HDMI.
- Video runs to the switcher, which selects the shot to send.
- The switcher sends the output to the encoder.
- The encoder compresses the signal and sends it to the streaming platform.
- Viewers receive the stream on their devices.
Watch out: Every adaptor and extension adds a potential point of failure. Keep the number of converters low, and test the full chain end to end before the event. If you are planning for a large audience, check whether your platform can handle live streaming capacity for thousands of viewers.
Label each cable at both ends. When something drops during a live event, you need to find the faulty link in seconds, not minutes.
Camera Synchronisation for Live Streaming: Timecode, Genlock and Latency
Synchronisation matters because cameras that drift out of step make cuts look jarring. If one camera runs a fraction of a frame behind, the switcher can show a visible jump when it changes shots.
Timecode stamps every frame with a clock reading, so the switcher can line up sources. Genlock goes further by locking every camera to a shared reference signal, so they all capture frames at the same instant. Use genlock where your gear supports it, especially for multi-camera productions.
Latency is the delay between something happening on stage and viewers seeing it. A stream can carry 10 to 30 seconds of delay, which matters for live Q&A. Measure latency during your rehearsal by timing a hand wave against the stream on a second device. Tell presenters about the delay so they do not talk over an answer that has not yet arrived.
Running the Show: Cueing, Switching and Crew Communication
Live switching depends on a cueing workflow that every crew member understands before the first segment begins. The director calls shots, the camera operators hold framing until called, and the stage manager tracks the run of show and signals transitions.
Build the run of show as a timed document, not a loose list. For each segment, record the start time, the speaker, the expected camera sequence, any slide or graphic changes, and the audio source.
A workable callout sequence for a single shot change looks like this:
- Stage manager, pre-cue: “Demo one in two minutes, camera two stays on the presenter.”
- Director, standby: “Camera three, standby for close-up.”
- Operator, confirm: “Camera three, ready.”
- Director, take: “Take camera three.”
- Operator, acknowledge: “On air, camera three.”
The standby call gives the operator time to refocus and reframe, which is the step most often skipped under pressure. The director should never call a take to an operator who has not confirmed ready.
For transitions that involve audio, add a separate audio callout so the mixer is not surprised by a change in source.
Keep the intercom to a single channel for the director, operators and stage manager. Side conversations on the same channel are the most common cause of missed cues, so brief each person to speak only when their role requires it.
Print the cue sheet on one page per segment, with the camera sequence and audio source marked in the margin. Tape the active page to the director’s monitor and turn it at each segment boundary so anyone joining the crew mid-event can see where the show is.
The cueing sequence below shows how each call should run, in the order the article describes.
| Step | Who calls it | What they say |
|---|---|---|
| Pre-cue | Stage manager | “Demo one in two minutes, camera two stays on the presenter.” |
| Standby | Director | “Camera three, standby for close-up.” |
| Confirm | Operator | “Camera three, ready.” |
| Take | Director | “Take camera three.” |
| Acknowledge | Operator | “On air, camera three.” |
Multi-Camera Livestream Troubleshooting and Failure Recovery
Plan for failure at every link in the chain. The aim is not to avoid every fault, but to define in advance what happens when one occurs, who acts on it, and how the audience experiences the recovery.
Camera failure. Keep one spare camera on standby, pre-configured with the same white balance, frame rate and colour profile as the primary units so a swap does not produce a visible jump.
Power failure. Split each camera, switcher and encoder across two circuits where the venue allows, and never let a single power board carry the whole production. Label which circuit feeds which device. Where a UPS is used, confirm its runtime under real load during rehearsal rather than relying on the manufacturer’s figure, because a UPS that carries a camera for ten minutes may carry an encoder for far less.
Audio failure. Wireless microphones are the most common audio fault. Check battery levels and frequency coordination before doors open, and keep a wired backup for every presenter. When a wireless signal drops, switch to the backup mic within seconds, not after the audience has noticed silence.
Network failure. Run the primary stream over a wired connection and keep a bonded or 4G backup on a second encoder. For guidance, see how to ensure stable internet for live events.
Recording failure. Record a local copy of the full programme output on a separate machine, independent of the live encoder. If the live stream fails, this recording is your delivery product.
Switching failure. If the switcher hangs, fall back to a single camera direct to the encoder, or to a pre-recorded holding slate. Keep the holding slate loaded and cued before the event so it can be played within seconds.
Write these procedures as a one-page failure matrix with the fault, the first action, the person responsible, and the fallback, and keep a printed copy at the director’s desk.
Booking Your Next Live Event Stream with Webcasting Livestream
Running a multi-camera event is a lot to manage in-house, especially when the stakes are high. Webcasting Livestream provides professional, end-to-end live streaming for corporate, public sector, education and non-profit events. Our team plans and runs the production, and you own the recordings. Read our professional livestream guide for business events before you book. You can also find our corporate webcasting services in Brisbane and how to get in touch with the team.
Here is what you can expect when you work with us:
- No drop-off guarantee: Fail-safe procedures help keep your stream connected.
- Recordings at no extra cost: All video is recorded and provided to you.
- HD quality across all devices: Your audience sees a clear picture on desktop and mobile.
Pricing depends on the size of the event, the number of cameras, the dates and the delivery format, so please contact us for a quote.
Get a quote from Webcasting Livestream and plan your next live event with confidence.
BUTTON: Get a quote
CARD_TITLE: Planning a multi-camera event?
CARD_TEXT: Webcasting Livestream runs managed live streams with fail-safe procedures and free recordings.
Frequently Asked Questions
How do you plan a multi-camera setup for a live event?
Start with a venue walkthrough to note sightlines, power points, internet capacity and where the audience and speakers will be. Draft a shot list that names each camera’s role, such as a wide shot, a speaker close-up and a stage view. Then build a run of show that tells the director when each camera should take air. Test the full signal path at least a day before the event, so any fault shows up while there is still time to fix it.
What equipment do you need for a multi-camera live stream?
At minimum you need two or more cameras, a video switcher or software switcher, an encoder to send the feed to a streaming platform, audio input from microphones and a mixer, cabling appropriate to the camera outputs such as SDI or HDMI, and a stable internet connection with upload capacity to spare. Add tripods or mounts, spare cables and a backup recording device. Use a live stream equipment checklist so nothing is missed on the day.
How do you synchronise multiple cameras during a live stream?
Use a common reference signal, such as genlock or a shared timecode source, so every camera and the switcher share the same timing. Check that frame rates and resolutions match across all cameras before the event. Once live, watch for any drift between cameras and any mismatch in colour or white balance, and correct it before the audience notices. Keeping the audio and video in sync matters as much as the picture itself.
How should you test a multi-camera setup before going live?
Run a full technical rehearsal using the same cables, power distribution and encoder settings you will use on the day. Check each camera feed on the switcher, confirm audio levels with the actual speakers, and send a test stream to the platform so you can see the stream latency and stability. Simulate a switch between cameras, and make sure the backup recording is capturing. Record any issues in a log and retest after each fix.