

Table of Contents
- What Causes Live Stream Buffering
- Step 1: Check Your Minimum Upload Speed for Live Streaming
- Step 2: Test Network Stability for Streaming Before Going Live
- Step 3: Choose Ethernet Over WiFi for Live Streaming
- Step 4: Optimise Your Router and Network Settings
- Step 5: Reduce Bandwidth Demand on Your Connection
- Step 6: Configure Encoder Settings to Match Your Bitrate
- Step 7: Clear Cache and Temporary Files Before Streaming
- Frequently Asked Questions
Last Updated: August 30, 2026
What Causes Live Stream Buffering
Live stream buffering occurs when your internet connection cannot deliver video data fast enough to keep up with playback. This creates gaps where the stream pauses, buffers, and resumes, a frustrating experience that damages your credibility and loses viewers. The root cause is almost always a mismatch between your available bandwidth and the bitrate your encoder is trying to send.
Several factors contribute to buffering. Insufficient upload speed is the most common culprit, your ISP connection simply cannot push the video data upstream quickly enough. Network instability, packet loss, and jitter also interrupt the flow of data, causing the stream to stall. On your end, background applications consuming bandwidth, too many devices on your network, WiFi interference, and suboptimal encoder settings amplify the problem. Even router firmware issues or misconfigured DNS settings can introduce latency that destabilizes your connection.
The good news: most buffering issues are preventable with systematic diagnosis and configuration. This guide walks you through seven actionable steps to test your setup, optimise your network, and configure your encoder for bulletproof streaming stability.
Step 1: Check Your Minimum Upload Speed for Live Streaming
Your upload speed is the foundation of stable streaming. Unlike download speed (which matters for watching content), upload speed determines how much video data you can send to the platform per second. This directly controls the bitrate you can maintain without buffering.
Most live streaming platforms recommend a minimum upload speed of 5-10 Mbps for 1080p at 30 frames per second. However, this is a bare minimum for acceptable quality. In practice, you should target upload speeds 50% higher than your intended bitrate to account for network fluctuations. If you plan to stream at 6 Mbps bitrate, aim for at least 9-10 Mbps upload speed available to your encoder.
To find your actual upload speed, visit a speed testing tool and run a test from the exact location where you’ll be streaming. Your upload speed will vary depending on your ISP connection type (ADSL, NBN, fibre), network congestion at that time of day, and distance from the nearest exchange. Document this number, it’s your ceiling for maximum bitrate.
Run speed tests at different times of day for three days before your event. This reveals whether your connection is consistently stable or if certain hours show degradation. Peak evening hours often show lower speeds due to network congestion in your area.
Step 2: Test Network Stability for Streaming Before Going Live
Upload speed alone doesn’t guarantee smooth streaming. A connection with 15 Mbps upload but high packet loss will buffer constantly. Network stability, measured by packet loss and jitter, matters as much as raw speed.
Using online speed testing tools
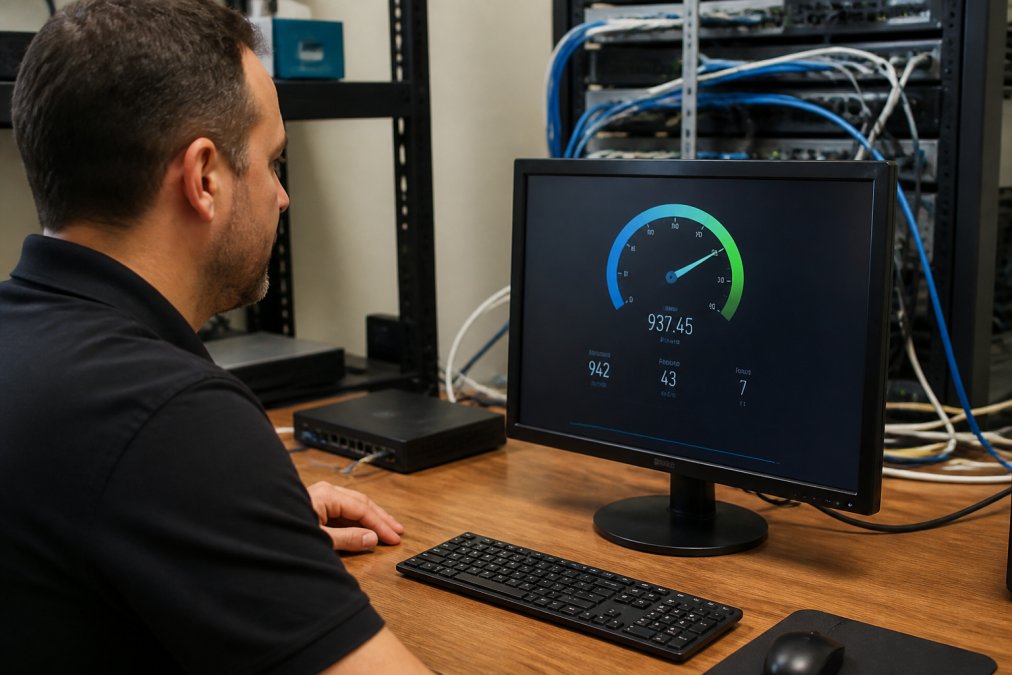
Use a speed testing tool that reports not just bandwidth, but also latency and packet loss. Run the test multiple times over several minutes to see consistency. Ideally, packet loss should be 0% and jitter (latency variation) should be under 20 milliseconds (peer-reviewed research). If you see packet loss above 1%, your network has instability that will cause buffering during a live stream.
Monitoring packet loss and jitter
Beyond speed tests, monitor your actual connection during a test stream. Most streaming software (OBS, Wirecast, vMix) displays real-time statistics including dropped frames and encoding lag. Launch your encoder, start a test stream to a private channel, and watch the stats panel for 5-10 minutes. If you see dropped frames climbing or encoding lag spiking, your connection cannot handle your current bitrate.
Packet loss happens when data packets fail to reach their destination. Jitter is the variance in how long packets take to arrive. Both cause the stream to stall while the player waits for missing or delayed data. If your test stream shows either problem, don’t proceed to a live event, fix the underlying network issue first.
Streaming directly after a speed test can give false confidence. The test runs for 30 seconds; a live stream runs for hours. Always run a 10-minute test stream to catch intermittent instability that brief tests miss.
Step 3: Choose Ethernet Over WiFi for Live Streaming
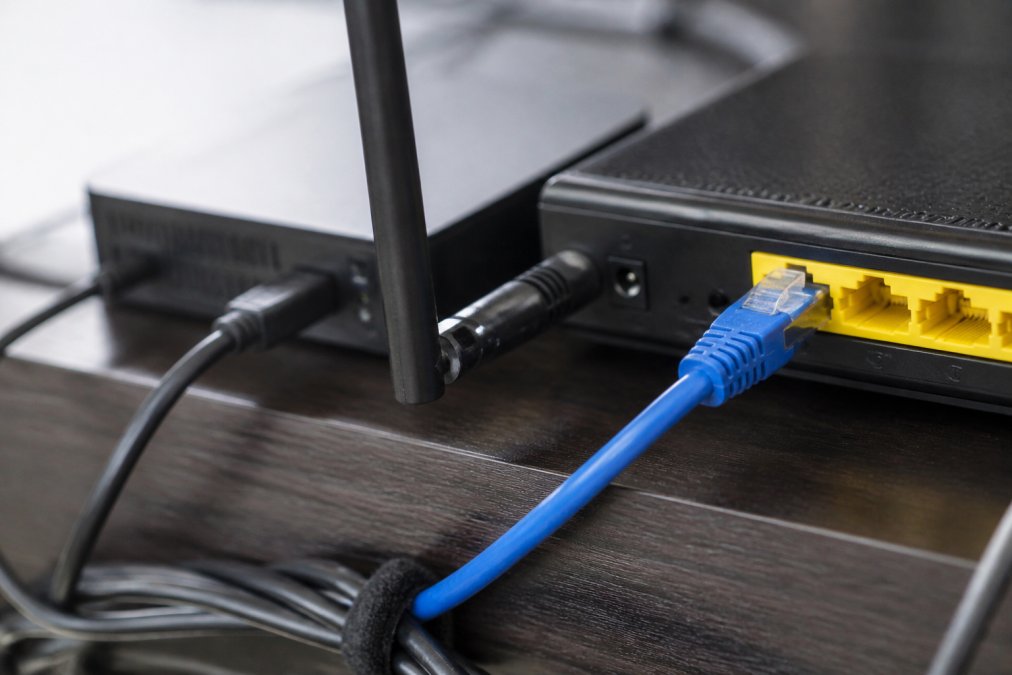
This is the single most impactful change most streamers can make. Ethernet provides a direct, wired connection to your router. WiFi is wireless and subject to interference, distance degradation, and signal strength fluctuations. For live streaming, ethernet is non-negotiable.
WiFi introduces latency and packet loss that ethernet eliminates. A 2.4GHz WiFi band can have interference from microwaves, cordless phones, and neighbouring networks (fcc.gov). The 5GHz band is faster but has shorter range. Even with a strong signal, WiFi bandwidth is shared among all connected devices, and its throughput degrades as distance from the router increases.
Ethernet guarantees dedicated bandwidth to your streaming device. There’s no contention, no interference, no signal degradation. If your streaming computer is in the same room as your router, run an ethernet cable directly. If distance is an issue, use a longer ethernet cable (up to 100 metres is safe) or install ethernet wall outlets in your streaming location.
If ethernet is genuinely impossible, switch to 5GHz WiFi and position your device within 3 metres of the router. But understand this is a compromise, your connection will never be as stable as ethernet.
Step 4: Optimise Your Router and Network Settings
Your router sits between your device and the internet. Misconfigured routers introduce latency, drop packets, and create bottlenecks that buffering streams exploit.
Restart your router and modem
Before making changes, restart both devices. Power off your modem completely for 30 seconds, then power it back on. Wait for all lights to stabilise (usually 2-3 minutes). Then restart your router the same way. This clears temporary memory issues and resets the connection to your ISP. Many intermittent buffering problems vanish after a restart.
Update router firmware
Router firmware controls how your device manages network traffic and handles connections. Outdated firmware can have bugs that introduce packet loss or latency. Log into your router’s admin panel (usually 192.168.1.1 or 192.168.0.1) and check for firmware updates. If an update is available, install it immediately. This is a one-time fix that often improves stability significantly.
Switch to 5GHz WiFi band if using wireless
If you must use WiFi, connect to the 5GHz band instead of 2.4GHz. The 5GHz band offers higher throughput and less interference from household devices. Your router broadcasts both bands simultaneously, look for your network name with “5G” or “-5” suffix and connect to that. You’ll sacrifice range for speed and stability, which is the right trade-off for streaming. fixing signal drops.
The 5GHz band is faster but shorter range. Position your streaming device within 3 metres of the router if using 5GHz WiFi. Ethernet eliminates this compromise entirely.
Step 5: Reduce Bandwidth Demand on Your Connection
Your upload speed is finite. Every megabit consumed by background processes is unavailable for your stream. Streaming at 6 Mbps while your system is downloading updates or uploading cloud backups leaves no buffer for network fluctuations.
Close background applications and stop downloads
Before going live, close everything unnecessary. Disable cloud sync (OneDrive, Google Drive, iCloud), pause any downloads, and stop any background updates. Open Task Manager (Windows) or Activity Monitor (Mac) and look for processes consuming network activity. Streaming software should be the only application with network access.
Disable automatic updates for the duration of your stream. Windows Update, macOS updates, and app store updates can trigger large downloads at unpredictable times. Manually re-enable them after your event ends.
Manage connected devices on your network
Every device on your WiFi network shares your total bandwidth. If five people are streaming Netflix while you’re streaming your live event, your upload speed is divided among all of them. Before going live, ask everyone on your network to stop streaming, downloading, or using bandwidth-heavy applications. Disconnect any devices you don’t need (smart TVs, security cameras, gaming consoles).
For corporate or institutional events, consider isolating your streaming device on a separate network or using a dedicated internet connection if available. This guarantees your stream gets priority.
Step 6: Configure Encoder Settings to Match Your Bitrate
Your encoder is the software that compresses video into a stream. Misconfigured encoding settings cause buffering even when your connection is strong enough. The key is matching your bitrate to your available upload speed and configuring the encoder for stability.
Adjust video bitrate and frame rate
Bitrate is the amount of data your encoder sends per second, measured in Mbps. Frame rate is how many frames per second the video contains (typically 30 or 60 fps). Higher bitrate and frame rate produce better quality but require more upload bandwidth.
Start conservative. If your upload speed test showed 10 Mbps stable, set your bitrate to 6 Mbps. This leaves 4 Mbps buffer for network fluctuations. Frame rate of 30 fps is standard for most events, only use 60 fps if your connection can comfortably handle it (15+ Mbps upload speed). Resolution should match your bitrate: 6 Mbps can deliver 1080p at 30 fps, but 720p at 30 fps is safer if you want headroom.
Most streaming platforms (YouTube, Facebook, Twitch) provide recommended bitrate ranges. Use their recommendations as a ceiling, not a target. If YouTube recommends up to 8 Mbps for 1080p, set your bitrate to 6 Mbps to stay below their maximum.
Enable hardware acceleration
Hardware acceleration offloads encoding work to your GPU (graphics card) instead of your CPU. This reduces system load, produces more stable output, and often improves quality. In OBS, go to Settings > Output > Encoder and select your GPU (NVIDIA NVENC, AMD VCE, or Intel QuickSync depending on your hardware). In other encoders, look for “hardware encoding” or “GPU acceleration” options.
Hardware acceleration is especially important if you’re running other applications during your stream (browser, presentation software, chat monitoring). It frees up CPU resources for those tasks while maintaining encoding stability.
Test your encoder settings with a 15-minute private test stream before your live event. Watch for dropped frames or encoding lag in the encoder’s statistics panel. If either appears, lower your bitrate by 1-2 Mbps and test again.
Step 7: Clear Cache and Temporary Files Before Streaming
Your operating system accumulates temporary files, cached data, and logs that consume disk space and can interfere with streaming performance. Clearing these before a live event removes potential bottlenecks.
On Windows, use Disk Cleanup (search “Disk Cleanup” in the Start menu) and select Temporary Files, Recycle Bin, and System Cache. Click Clean Up System Files. On Mac, use CleanMyMac or manually delete ~/Library/Caches. These operations free up disk space and can improve overall system responsiveness.
Browser cache also matters if you’re monitoring chat or dashboards during your stream. Clear your browser cache (Ctrl+Shift+Delete on Windows, Cmd+Shift+Delete on Mac) before starting. This prevents the browser from consuming unnecessary memory and CPU.
Restart your computer after clearing cache. This ensures all services start fresh and memory is fully available for your streaming software.
Preventing live stream buffering comes down to systematic testing and configuration. You’ve now diagnosed your upload speed and network stability, optimised your hardware setup with ethernet, tuned your router, eliminated bandwidth competition, configured your encoder correctly, and cleared system clutter. These seven steps address every common buffering cause.
When you’re ready to stream at scale, managing events with hundreds or thousands of concurrent viewers across multiple states, Webcasting Livestream handles the infrastructure so you don’t have to. Our no-drop-off guarantee means your stream stays live even under load. We manage fail-safe procedures, handle HD quality across all devices, and ensure your content belongs to you. Get a quote today and stream with confidence knowing your technical foundation is bulletproof.
Frequently Asked Questions
How do I stop live streaming from buffering?
Start by testing your upload speed, you need at least 5 Mbps for 1080p streaming at 30 fps. Switch to an ethernet cable connection instead of WiFi to eliminate signal interference. Close background applications consuming bandwidth, restart your router to clear network congestion, and adjust your encoder bitrate to match your actual available bandwidth. If buffering persists, reduce video resolution or frame rate until your connection stabilises.
What minimum upload speed for live streaming do I need?
Upload speed requirements depend on your resolution and frame rate. For 720p at 30 fps, aim for at least 3-4 Mbps. For 1080p at 30 fps, you need 5-8 Mbps. For 1080p at 60 fps, plan for 8-15 Mbps. Always test your actual upload speed using a speed testing tool before going live, and add a 25% buffer to account for network fluctuations and ensure stable throughput.
Should I use ethernet vs WiFi for live streaming?
Ethernet is superior for live streaming. A wired connection eliminates WiFi interference, reduces latency, and provides consistent bandwidth without signal strength fluctuations. WiFi is susceptible to interference from other devices, distance from the router, and network congestion. If you must use WiFi, position your device close to the router, switch to the 5GHz band for better throughput, and avoid streaming during peak usage times on your network.
How can I test network stability for streaming before going live?
Use free online speed testing tools to measure your download speed, upload speed, latency, and packet loss. Run tests multiple times over several minutes to identify fluctuations. Monitor jitter (variation in latency) and packet loss, both should be near zero. Check your connection during the same time you plan to stream, as network congestion varies throughout the day. If packet loss exceeds 1% or jitter is high, troubleshoot your connection before streaming.
This article was written using GrandRanker