
Table of Contents
- Step 1: Choose the Best Microphone for Virtual Conferences
- Step 2: Position Microphones for Clean Audio Fidelity
- Step 3: How to Reduce Background Noise in Live Streams
- Step 4: Optimise Software Settings and Audio Routing
- Step 5: Stabilise Bandwidth, Latency and Packet Loss
- Step 6: Treat Room Acoustics to Cut Reverb and Echo
- Your Virtual Conference Audio Setup Checklist
- Common Mistakes That Ruin Live Stream Audio Quality
- Frequently Asked Questions
Last Updated: October 2, 2026
Step 1: Choose the Best Microphone for Virtual Conferences
The best microphone for virtual conferences depends on your setup, but a USB cardioid condenser mic beats a laptop’s built-in mic every time. The microphone is where live stream audio quality is won or lost.
Most people blame their internet connection for bad sound. They’re wrong. A cheap mic two feet from your face picks up keyboard clatter, air conditioning hum, and room echo. A decent mic fixes all three before the signal even reaches your computer.
XLR vs USB: Which Connection Suits Your Setup
USB microphones plug straight into your computer. No extra gear, no setup headaches. They suit solo presenters and small panels.
XLR microphones need an audio interface or mixer. They cost more and take longer to set up, but give cleaner gain staging, better dynamic range, and room to grow.
For a one-person webinar, buy a USB mic. For a multi-speaker conference with a mixing desk, go XLR.
Polar Patterns and Why the Cardioid Pattern Wins for Speech
A polar pattern describes which directions a microphone hears. Three matter:
- Cardioid picks up sound from the front and rejects the sides and rear
- Omnidirectional captures sound from every direction equally
- Figure-of-eight hears front and back but not the sides
Cardioid wins for speech: it ignores the air conditioner behind you and the co-presenter beside you, while an omnidirectional mic hears the whole room.
Step 2: Position Microphones for Clean Audio Fidelity
Positioning matters more than price. A well-placed budget mic outperforms an expensive one across the room.
Follow three rules:
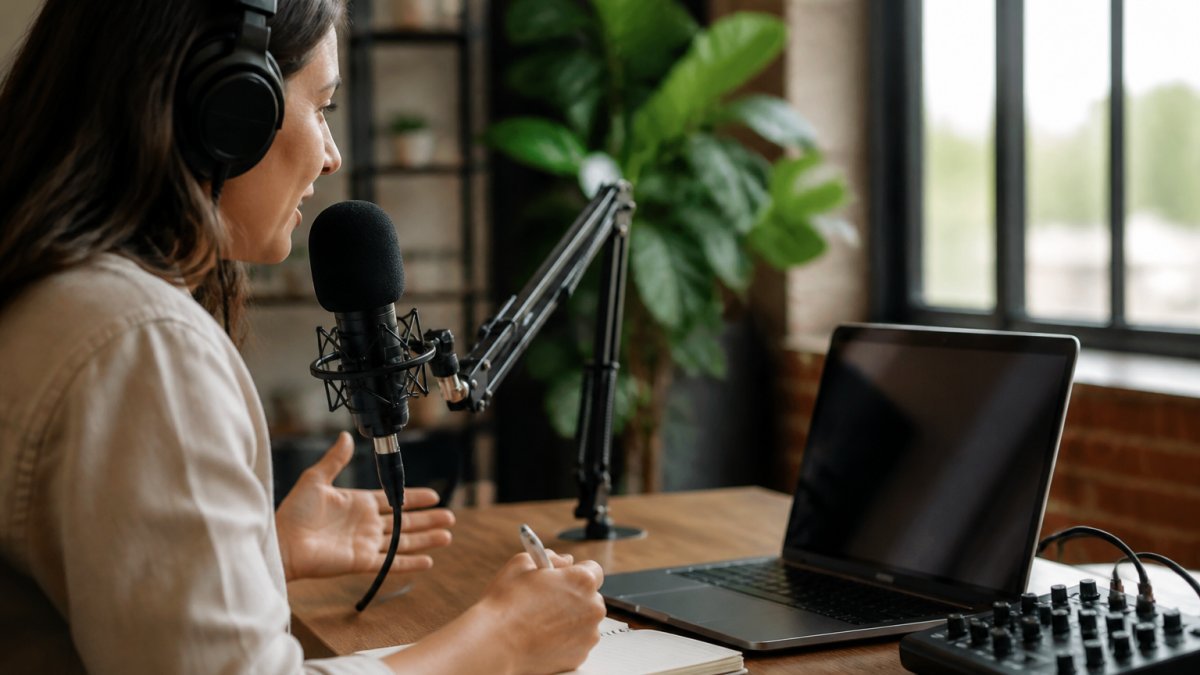
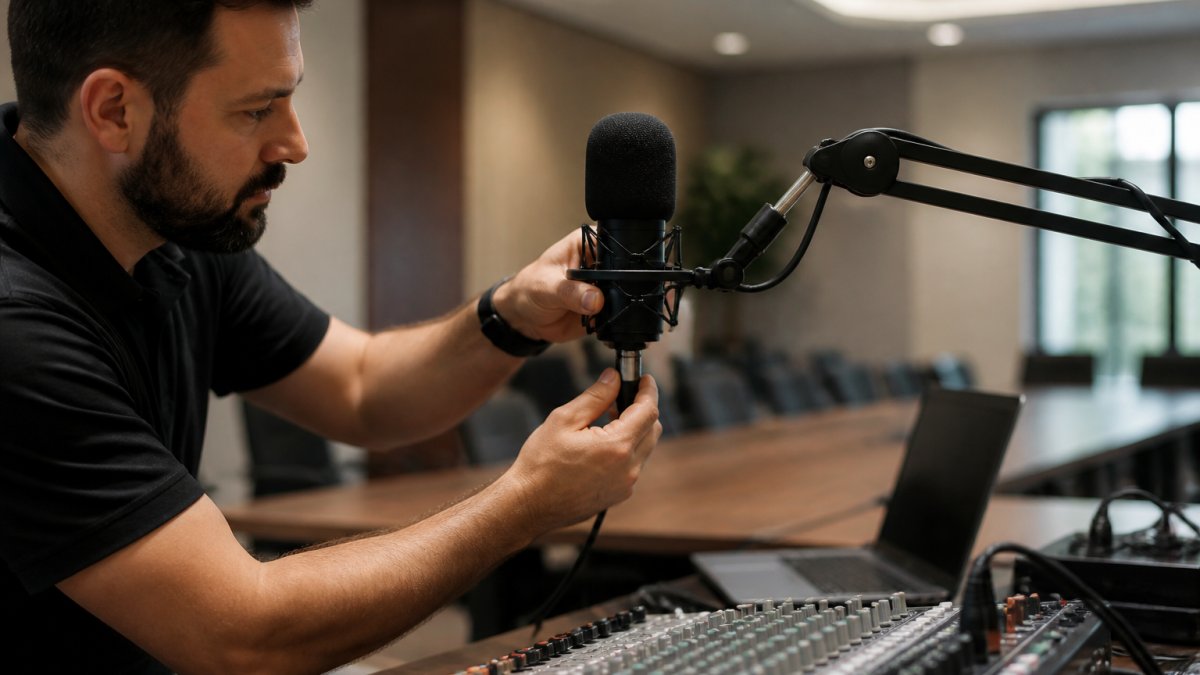
- Keep the mic 15 to 30 centimetres from your mouth
- Angle it slightly off-axis so plosives miss the capsule
- Mount it on a boom arm, not the desk, to stop vibration noise
Good positioning lifts your signal-to-noise ratio, the gap between your voice and everything else, meaning less hiss, less hum, more presence.
The 3:1 Rule in a Conference Setting
The 3:1 rule says each microphone should sit at least three times farther from the next mic than from its own speaker.
This stops two mics hearing the same voice at slightly different times, which creates comb filtering, a hollow, phasey sound that’s hard to fix later. Space panel mics generously and use cardioid patterns so each mic ignores its neighbours.
Step 3: How to Reduce Background Noise in Live Streams
Reducing background noise starts at the source, not in software. Fix the room and mic placement first; software cleanup is a last resort.
Work through this order:
- Kill obvious noise. Switch off air conditioning, fans, and fluorescent ballasts where you can.
- Move the mic closer. Every halving of distance cuts room noise picked up.
- Add soft furnishings. Rugs, curtains, and acoustic panels absorb reflections.
- Fix the gain. Set input sensitivity so peaks sit around -12 dB, not clipping at 0 dB.
A common mistake is cranking the gain to compensate for a distant mic. That amplifies the room along with your voice.
AI-Powered Noise Cancellation Tools Worth Testing
AI noise suppression has improved fast, learning what speech sounds like and stripping out everything else, a software layer that can rescue a mediocre room when hardware isn’t an option.
The tools worth knowing fall into two categories:
- Standalone apps such as Krisp run as a virtual microphone between your real mic and your conferencing app. Select “Krisp Microphone” as your input and it processes the signal in real time across Zoom, Teams, and browser-based platforms without per-app configuration.
- GPU-accelerated tools such as NVIDIA Broadcast run suppression models locally on your graphics card. They tend to have lower latency than cloud-based options because nothing leaves your machine, but they require a compatible GPU and add load during a stream.
Some platforms ship their own suppression, Zoom, Teams, and Google Meet all offer a toggle.
When evaluating any tool, test for these trade-offs:
- Latency. Anything above roughly 20-30 ms of added delay becomes noticeable in a live conversation. Cloud-based tools are the usual culprits.
- CPU and GPU load. Running suppression alongside a stream encoder can push a laptop into thermal throttling. Check your resource monitor during a rehearsal.
- Artefacts. Aggressive suppression can make voices sound robotic, clipped, or “underwater,” especially on sibilants. Some tools also cut off the start of words.
- Music handling. If your conference includes intro music or stings, a voice-only model will mangle it. Look for a music mode or a bypass toggle.
Run suppression at a moderate setting and keep a bypass hotkey ready, so you can drop the effect mid-session if a presenter’s voice starts sounding processed.
NVIDIA Broadcast AI noise removal documentation
Never rely on AI suppression as your only fix. If your room echoes badly, no tool fully removes it, reverb is part of the speech signal, not a separate noise layer. Treat the room first, then let AI handle the last 10 percent.
Matching Suppression to the Noise Type
Not all noise responds to the same treatment. Fan hum, keyboard clatter, and traffic rumble are steady-state noises AI models handle well, but transient sounds like a dog barking or a door slamming often slip through or clip the speech around them.
For steady hum, a high-pass filter set around 80-100 Hz removes most air-conditioning and desk rumble without touching speech intelligibility. Most audio interfaces and some conferencing apps include one, a cheaper, lower-latency fix than AI suppression, and worth trying first.
Step 4: Optimise Software Settings and Audio Routing
Software settings decide whether your clean signal reaches viewers intact. Get these wrong and you undo every hardware upgrade.
Check your platform’s audio menu before every session. Settings reset, devices switch, and default inputs sneak back in.
Original Sound, Sample Rate and Bitrate Explained
Original Sound is a conferencing app setting that disables built-in processing.
Sample rate is how many times per second audio is captured, measured in kilohertz. Speech needs 44.1 kHz or 48 kHz.
Bitrate is how much data carries the audio. For streaming, aim for 128 kbps or higher. Below that, voices sound thin and watery.
One setting most guides ignore: mono versus stereo.
Routing Audio for Multi-Platform Streaming
Streaming to several platforms at once needs a virtual audio cable, software that creates a fake audio device letting one signal feed multiple apps.
The basic signal flow looks like this:
- Your microphone feeds a virtual input device.
- A mixer or routing app (VoiceMeeter, OBS, or the virtual cable’s own panel) receives that input.
- The mixer sends the same signal to multiple virtual outputs.
- Each streaming or conferencing app is pointed at a different virtual output.
- You monitor through headphones plugged into a separate physical output, never the virtual one, or you’ll create a feedback loop.
This is where most multi-platform setups fail: two apps grab the same device and one gets silence, or the presenter’s headphones become a second mic path and the room echoes back. A virtual cable with distinct input and output devices solves both.
A few practical rules:
- Label your devices. Rename virtual inputs and outputs in your OS sound settings so you can tell them apart at a glance. “CABLE Input” and “CABLE Output” are easy to confuse under pressure.
- Set sample rates consistently. If your mic runs at 48 kHz and a virtual device defaults to 44.1 kHz, the OS resamples and can introduce artefacts. Match them all.
- Disable exclusive mode on virtual devices in Windows, or one app can lock the device and starve the others.
- Test with a recording, not just a live meter. Some routing errors only show up as channel swaps or one-sided audio in the recorded file.
Zoom support guide on original sound and audio settings
Routing for Captions and Accessibility
Audio routing also determines how well automated captions work.
The fix is to route a clean speech-only feed to the captioning service, separate from the audience mix. In a virtual cable setup, create a dedicated output carrying only the presenter’s microphone, with music and effects excluded.
Two more accessibility points worth building into your setup:
- Caption delay. Automated captions typically lag speech by 2-5 seconds. For a live conference, warn viewers or use a human captioner for keynote segments where timing matters.
- Audio description. If your conference includes slides or video with important visual content, a separate audio description track, routed through its own virtual output, keeps that content accessible without cluttering the main mix.
This isn’t just a compliance nicety: clear, well-routed audio is the biggest factor in caption accuracy, and caption accuracy decides whether deaf and hard-of-hearing attendees can follow your event at all.
Step 5: Stabilise Bandwidth, Latency and Packet Loss
Bandwidth, latency, and packet loss are the three network problems that wreck live stream audio quality.
Here’s what each one means:
| Problem | What It Does | How to Reduce It |
|---|---|---|
| Bandwidth | Caps how much data flows | Use a wired connection, close other apps |
| Latency | Delays the signal | Cut Wi-Fi hops, use a nearby server |
| Packet loss | Drops chunks of audio | Use ethernet, avoid congested networks |
Jitter is the variation in latency, and it causes stuttering more than raw delay does. A stable 40 ms connection beats one bouncing between 10 and 200 ms.
Always use a wired ethernet connection for the presenter’s machine. Wi-Fi is fine for viewers, not for the source.
Run a speed and jitter test an hour before your event, not five minutes before. If jitter is high, switch to a wired connection or a mobile hotspot on a different network. Regional venues often have weaker links, so test twice: once at setup, once at showtime.
Step 6: Treat Room Acoustics to Cut Reverb and Echo
Room acoustics decide how much reverb and echo reach your mic. Hard surfaces bounce sound; soft surfaces absorb it.
A bare meeting room with glass walls is the worst case. Your voice reflects off every surface and arrives at the mic twice.
Fix it with acoustic treatment:
- Hang thick curtains or moving blankets on bare walls
- Lay rugs on hard floors
- Place bookshelves or acoustic panels behind the speaker
- Avoid empty, square rooms where standing waves build
You don’t need a studio, just break up flat, reflective surfaces. A carpeted room with soft furniture sounds dramatically better than a glass box.
Australian Communications and Media Authority on network performance
Your Virtual Conference Audio Setup Checklist
Use this virtual conference audio setup checklist before every event. Run it once as a rehearsal, then repeat it on the day.
- Microphone 15 to 30 centimetres from mouth, off-axis
- Boom arm or stand, not desk-mounted
- Cardioid pattern selected
- Input gain peaking around -12 dB
- Original Sound enabled in the conferencing app
- Sample rate set to 48 kHz, bitrate at 128 kbps or higher
- Virtual audio cable configured for multi-platform streams
- Wired ethernet connection confirmed
- Jitter and packet loss tested
- Room treated with soft furnishings
- AI noise suppression tested and set to bypass if needed
- Captions and accessibility settings enabled
That last point matters more than most teams realise. Live captions help viewers who are deaf or hard of hearing, and anyone watching in a noisy place. Most platforms generate captions automatically, turn them on and check accuracy before you go live.
Common Mistakes That Ruin Live Stream Audio Quality
Most audio failures come from a short list of repeat mistakes.
Cranking the gain instead of moving the mic. This amplifies room noise with your voice.
Trusting Wi-Fi for the source machine. Wireless drops packets under load. Plug in.
Skipping the soundcheck. Every room, device, and platform behaves differently. Test every time.
Stacking noise suppression. Your mic, interface, and app each add processing.
Forgetting mobile listeners. Many viewers watch on phones with tiny speakers.
Frequently Asked Questions
How do I fix poor audio quality during a live stream?
Work through the signal chain in order. Check the microphone is within 15 to 20 centimetres of the speaker’s mouth and angled correctly. Confirm input sensitivity is set so peaks sit around -12 dB to -6 dB. Then test your bitrate and sample rate settings. Most poor audio comes from a mic that is too far away or a gain stage set too high, which raises the noise floor. Fixing placement and gain before touching software solves the majority of complaints.
What is the 3:1 rule for microphones in a conference setting?
The 3:1 rule keeps two microphones at least three times further apart than either is from its own sound source. If a panelist’s mic sits 20 centimetres from their mouth, the next mic should be at least 60 centimetres away. This reduces phase cancellation and bleed between channels. In a panel or roundtable setup, applying the rule prevents one speaker’s voice appearing faintly on a neighbour’s channel and muddying the mix.
Which audio bitrate is best for virtual conference streaming?
For speech-led conference content, 128 kbps is the practical floor and 192 kbps gives noticeably cleaner results on music stings and video playback. Higher bitrates only help if your upload bandwidth and platform support them. Pair the bitrate with a 44.1 kHz or 48 kHz sample rate. Test on the lowest-spec device your audience uses before going live, because a stream that sounds fine on a desktop can break up on a mobile connection.
How does room acoustics affect virtual conference audio quality?
Hard surfaces such as glass walls, timber floors and bare plasterboard reflect sound, adding reverb that makes speech sound distant and tiring to follow. Soft furnishings, acoustic panels, rugs and heavy curtains absorb those reflections. For a permanent streaming space, treat the wall behind the speaker and the opposite wall first. For temporary setups, moving the mic closer and adding soft material behind the speaker reduces reverb without any construction work.