
Table of Contents
- Pre-Event Planning: Speaker Onboarding and Data Collection
- Building Your Live Streaming Production Workflow
- Technical Requirements for Multi-Speaker Streams
- Managing Speaker Transitions During Webcasts
- Audio-Visual Coordination and Camera Switching
- Best Software for Multi-Speaker Webcasts
- Crisis Management and Fail-Safe Procedures
- Post-Event Speaker Analytics and Recording Ownership
Last Updated: August 21, 2026
Pre-Event Planning: Speaker Onboarding and Data Collection
Managing a multi-speaker live stream starts weeks before the broadcast goes live. The foundation of success rests on thorough speaker onboarding and data collection.
Create a speaker information packet covering session duration, appearance order, introduction details, technical requirements, equipment needs, and minimum internet bandwidth. Gather contact information, technical setup details, special requirements (slides, graphics, lower-thirds), and their live streaming experience level. A simple questionnaire about equipment quality, internet stability, and concerns allows you to anticipate problems.
Schedule a technical rehearsal with each speaker at least three to five business days before the event (peer-reviewed research). Test their microphone, camera angle, lighting, and screen-sharing capability. Record a short segment so they can see how they’ll appear to the audience. Document everything in a speaker runsheet listing name, session title, start time, duration, visual assets, and contact number for broadcast day.
Building Your Live Streaming Production Workflow
Your production workflow defines who does what, when, and how information flows between team members during the broadcast.
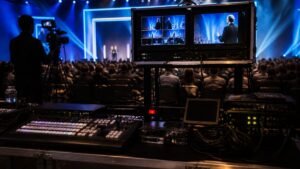
Map out your broadcast timeline: pre-show (15-30 minutes before going live), speaker introductions, transitions, Q&A segments, and post-show wind-down. Assign specific tasks to specific people at each stage, one manages camera switching, another handles audio levels, a third monitors chat, and someone else cues speakers and manages timing.
Create a production runsheet showing the exact sequence of events with timestamps, speaker names, segment titles, transition cues, and technical changes. This document keeps everyone aligned and prevents missed cues.
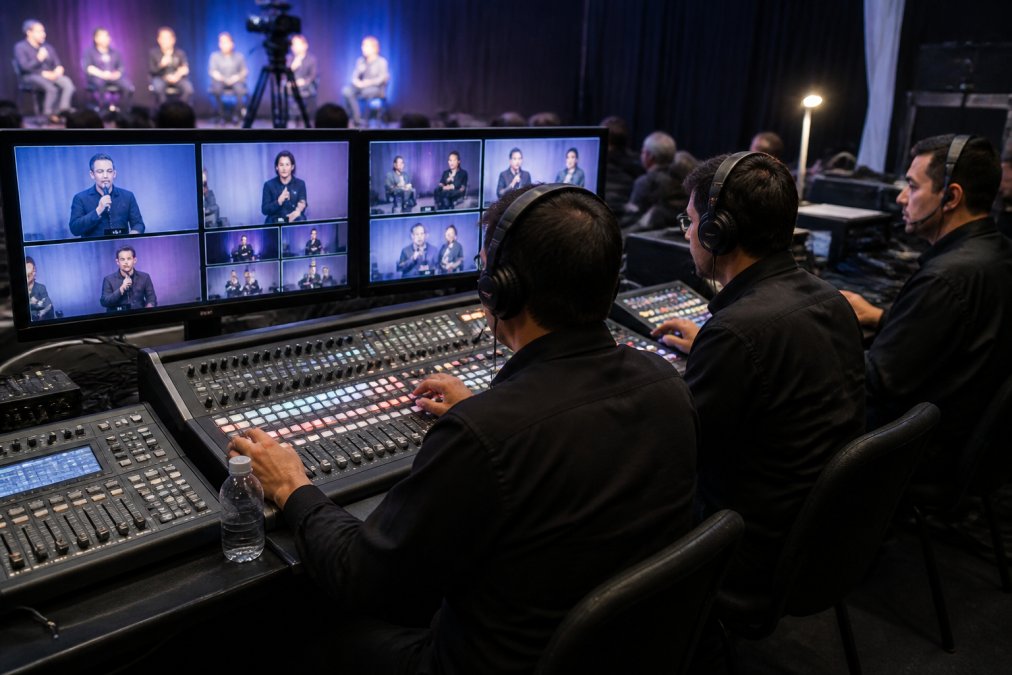
Use headsets with a dedicated production channel so your camera operator, audio engineer, and director can communicate without the audience hearing them. Establish hand signals for situations where headsets aren’t practical.
Designate a director or producer with overall control of the broadcast. This person watches the timeline, cues speakers, instructs the camera operator, and makes real-time decisions if something goes off plan. Without a clear director, multiple people making simultaneous decisions creates confusion and mistakes.
Technical Requirements for Multi-Speaker Streams
A multi-speaker live stream has more moving parts than a single-speaker broadcast, which means more things can go wrong.
Each speaker needs a stable upload connection of at least 5 Mbps for HD video quality (fcc.gov). Test connection speed during rehearsal; speakers from regional areas or corporate networks with limited bandwidth may need to join audio-only or reduce video resolution.
Use professional-grade camera equipment with good low-light performance, stable tripods, and professional lighting. For multi-speaker events, you’ll typically need multiple cameras, one for each speaker or speaker group, plus a wide shot. Each camera should have a dedicated operator or be on a motorised pan-tilt-zoom mount.
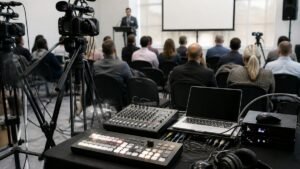
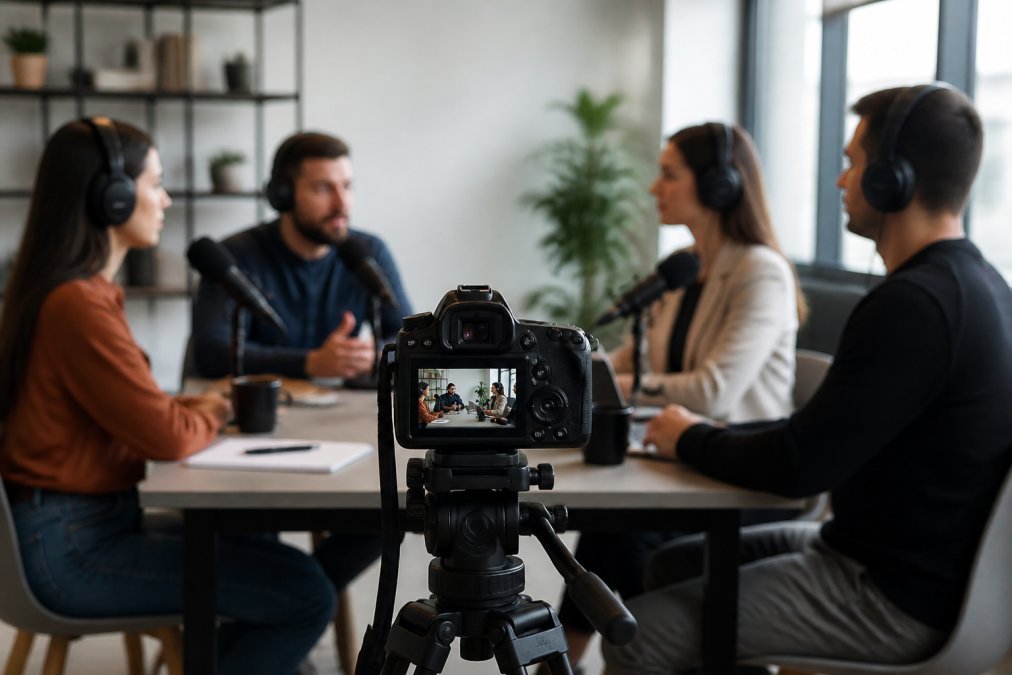
Audio quality determines whether your audience stays. Use a mixing console allowing independent level control for each speaker. Each speaker should have their own microphone; lavalier mics work well for seated speakers, handheld mics for standing presenters. Wireless microphone systems reduce cable clutter. Always have a backup microphone for each speaker.
Network redundancy is essential. Have a primary connection (fibre or fixed wireless) and a backup connection (4G mobile hotspot) ready to switch instantly if the primary fails. Test the failover process during rehearsal.
Confirm your streaming platform can handle your expected viewer count without degradation. Test with at least your anticipated concurrent viewer load before the event.
Managing Speaker Transitions During Webcasts
Speaker transitions are where multi-speaker live stream events often stumble. Smooth transitions require planning and rehearsal.
Create a transition protocol: when one speaker finishes, the director cues the next speaker to stand by. The outgoing speaker wraps, the camera pulls back to a wide shot, the moderator provides a brief introduction, and the camera cuts to the new speaker. This sequence should take no more than 10-15 seconds (smpte.org).
Brief your moderator or host on their role during transitions. They manage pacing and energy by bridging topics, asking transition questions, or summarizing what the audience just heard.
Use a countdown timer visible to speakers so they know when their time is running out. A simple visual timer on a monitor or tablet helps them pace themselves and wrap up on time.
Have a contingency plan if a speaker runs over time. Decide in advance whether you cut them off, let them finish and compress the next speaker’s time, or skip a segment. Communicate this to all speakers during onboarding.
Audio-Visual Coordination and Camera Switching
Audio-visual coordination is the glue that holds a professional broadcast together.
Your camera switching should follow a consistent pattern: open with a wide shot establishing the venue and speaker, cut to a medium shot as they begin talking, use close-ups sparingly for emphasis. If a speaker presents slides, show the slides with a picture-in-picture of the speaker’s face in the corner.
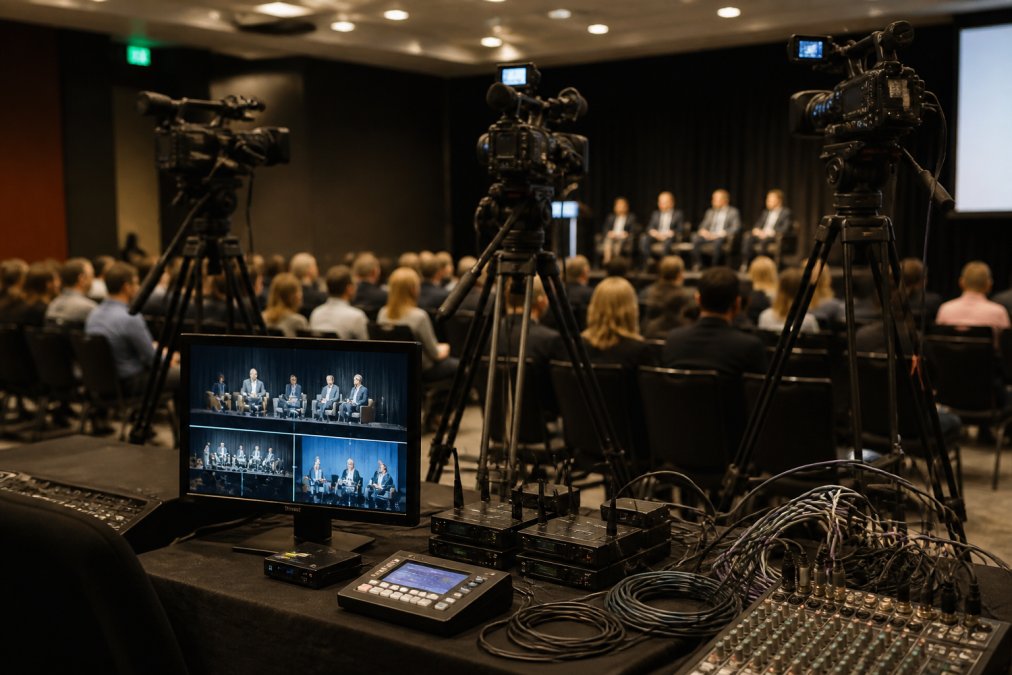
Coordinate graphics and lower-thirds with your camera cuts. Bring lower-thirds up when the camera cuts to a speaker and remove them when you cut away. Ensure slides are visible before cutting to them.
Audio levels must be balanced across all speakers. During rehearsal, record each speaker and set input levels for consistency. Use a compressor on each channel to smooth peaks. Monitor the overall mix level so it stays in the “green” zone.
Manage feedback by positioning speakers away from monitors carrying broadcast audio. Use in-ear monitors for speakers instead of stage speakers when possible.
Test your camera switching and graphics timing during the full technical rehearsal with all speakers present, all cameras running, and all graphics queued up.
Best Software for Multi-Speaker Webcasts
Choosing the right platform is crucial for managing a multi-speaker live stream effectively. The platform must handle multiple input sources, allow real-time switching between cameras and graphics, support audience interaction features, and deliver reliable streaming.
Webcasting Livestream provides professional-grade live streaming solutions specifically designed for multi-speaker events. The platform supports multiple simultaneous camera feeds, integrated audio mixing, real-time graphics and lower-thirds, and fail-safe procedures that ensure your broadcast doesn’t drop. You maintain complete ownership of all recordings, provided at no extra cost. HD quality streaming works across all devices.
When evaluating any platform, look for these core capabilities:
- Multi-camera input: The ability to ingest and switch between at least three simultaneous camera feeds
- Integrated mixer: Built-in audio mixing so you can adjust levels for each speaker without external hardware
- Graphics and overlays: Tools to add lower-thirds, logos, and slides without leaving the platform
- Audience interaction: Live Q&A, polls, chat moderation, and the ability to display audience questions to speakers
- Redundancy and failover: Automatic backup systems that prevent stream dropout if your primary connection fails
- Recording and ownership: All footage recorded automatically, with clear ownership so you can reuse content for training or archival
Test the platform with your exact setup during the technical rehearsal.
Crisis Management and Fail-Safe Procedures
Even with meticulous planning, things go wrong during live broadcasts. Your ability to respond quickly determines whether a minor glitch becomes a visible disaster.
Create a crisis protocol document outlining what to do if specific problems occur. If a speaker’s audio drops, do you ask them to reconnect while you fill time with another speaker or a graphic? If a camera fails, do you switch to a different angle? If the entire broadcast connection fails, how long do you wait before going dark? Decide these scenarios in advance and brief your team.
Redundancy is your best defense. Have a backup internet connection ready to switch instantly. Have a backup camera for each position and a backup speaker who can step in if a scheduled speaker doesn’t show up. Have recorded content ready to play if you need to fill unexpected dead air.
Webcasting Livestream’s no-drop-off guarantee and fail-safe procedures are built to handle these scenarios. The platform automatically detects connection issues and switches to backup infrastructure without interrupting your broadcast.
Keep a communication channel open with your speakers so you can cue them quickly if something goes wrong.
Post-Event Speaker Analytics and Recording Ownership
The broadcast ends, but your work isn’t finished. Post-event analytics tell you what worked and what didn’t.
Collect viewer metrics: total concurrent viewers, peak viewership, average watch time, where viewers dropped off, and which segments got the most engagement. These numbers reveal which speakers resonated and where pacing issues caused people to leave.
Gather feedback from speakers about their experience, technical issues, and suggestions for improvement. Confirm recording ownership and access before the event. You should own the recordings outright with no restrictions on how you use them.
Webcasting Livestream provides all recordings automatically at no extra cost, and you maintain complete ownership. This means you can edit segments, upload them to your website, share them on social media, or include them in training libraries without additional licensing fees.
Archive your recordings in a secure, searchable format, tagged by speaker, topic, and date. This archive becomes a valuable resource for employee onboarding, customer education, and internal knowledge sharing.
Managing a multi-speaker live stream is complex, but it’s achievable with methodical planning and built-in redundancy. The difference between a smooth broadcast and one that stumbles comes down to preparation, clear communication, and fail-safe procedures. Webcasting Livestream eliminates technical anxiety by handling stream stability, HD quality delivery, and automatic recording ownership, so you can concentrate on speaker coordination and audience engagement. Get a quote today and discover how professional-grade live streaming can transform your next event.
Frequently Asked Questions
What are the essential technical requirements for multi-speaker live streams?
Multi-speaker live streams require stable broadband (minimum 5 Mbps upload speed), professional audio equipment with multiple microphones and a mixing console, multi-camera setup with switching capability, and broadcast control software. You'll also need failover internet connectivity to prevent stream dropouts. Speakers need quality microphones positioned to minimise background noise, and your venue must support wireless microphone systems if speakers move around. Lighting should be consistent across all speaker positions, and you need a backup power supply to maintain stream stability throughout the event.
How do you coordinate speaker transitions during a live broadcast?
Coordinate transitions using a detailed runsheet that specifies timing, speaker order, and technical cues. Assign a dedicated transition manager who communicates with speakers via headsets before each switch. Use visual countdown timers on monitors so speakers know when they're next. During rehearsal, practise each transition to identify timing issues. On the day, the camera operator switches feeds 3-5 seconds before the new speaker begins, the audio technician adjusts microphone levels, and the transition manager confirms readiness via hand signals or comms. This prevents awkward gaps and ensures smooth broadcast quality.
What software tools are best for managing remote and in-person speakers?
Choose broadcast control software that integrates speaker scheduling, real-time communication, and multi-camera switching. Professional platforms allow you to manage speaker bios, session times, and technical requirements in one place. Look for tools with built-in speaker rehearsal scheduling, automated email reminders, and live Q&A moderation features. For hybrid events with remote speakers, ensure your platform supports reliable video input from video conferencing tools like Zoom or Teams. Backup systems should allow you to switch between speakers without losing stream stability. Your event platform should also record speaker data for post-event analytics.
How can I ensure consistent audio quality across multiple speakers?
Use a professional mixing console to standardise microphone levels before each speaker takes the stage. Conduct a technical rehearsal where each speaker tests their microphone, speaks at their natural volume, and you record baseline levels. Use wireless microphone systems with consistent frequency settings to avoid interference. Position microphones at the same distance from each speaker's mouth, typically 15-20 centimetres. Monitor audio levels in real-time during the broadcast and adjust gain between speakers. Use noise gates to eliminate background hum, and apply compression to prevent sudden volume spikes. Always have a backup microphone ready for each speaker position.
This article was written using GrandRanker